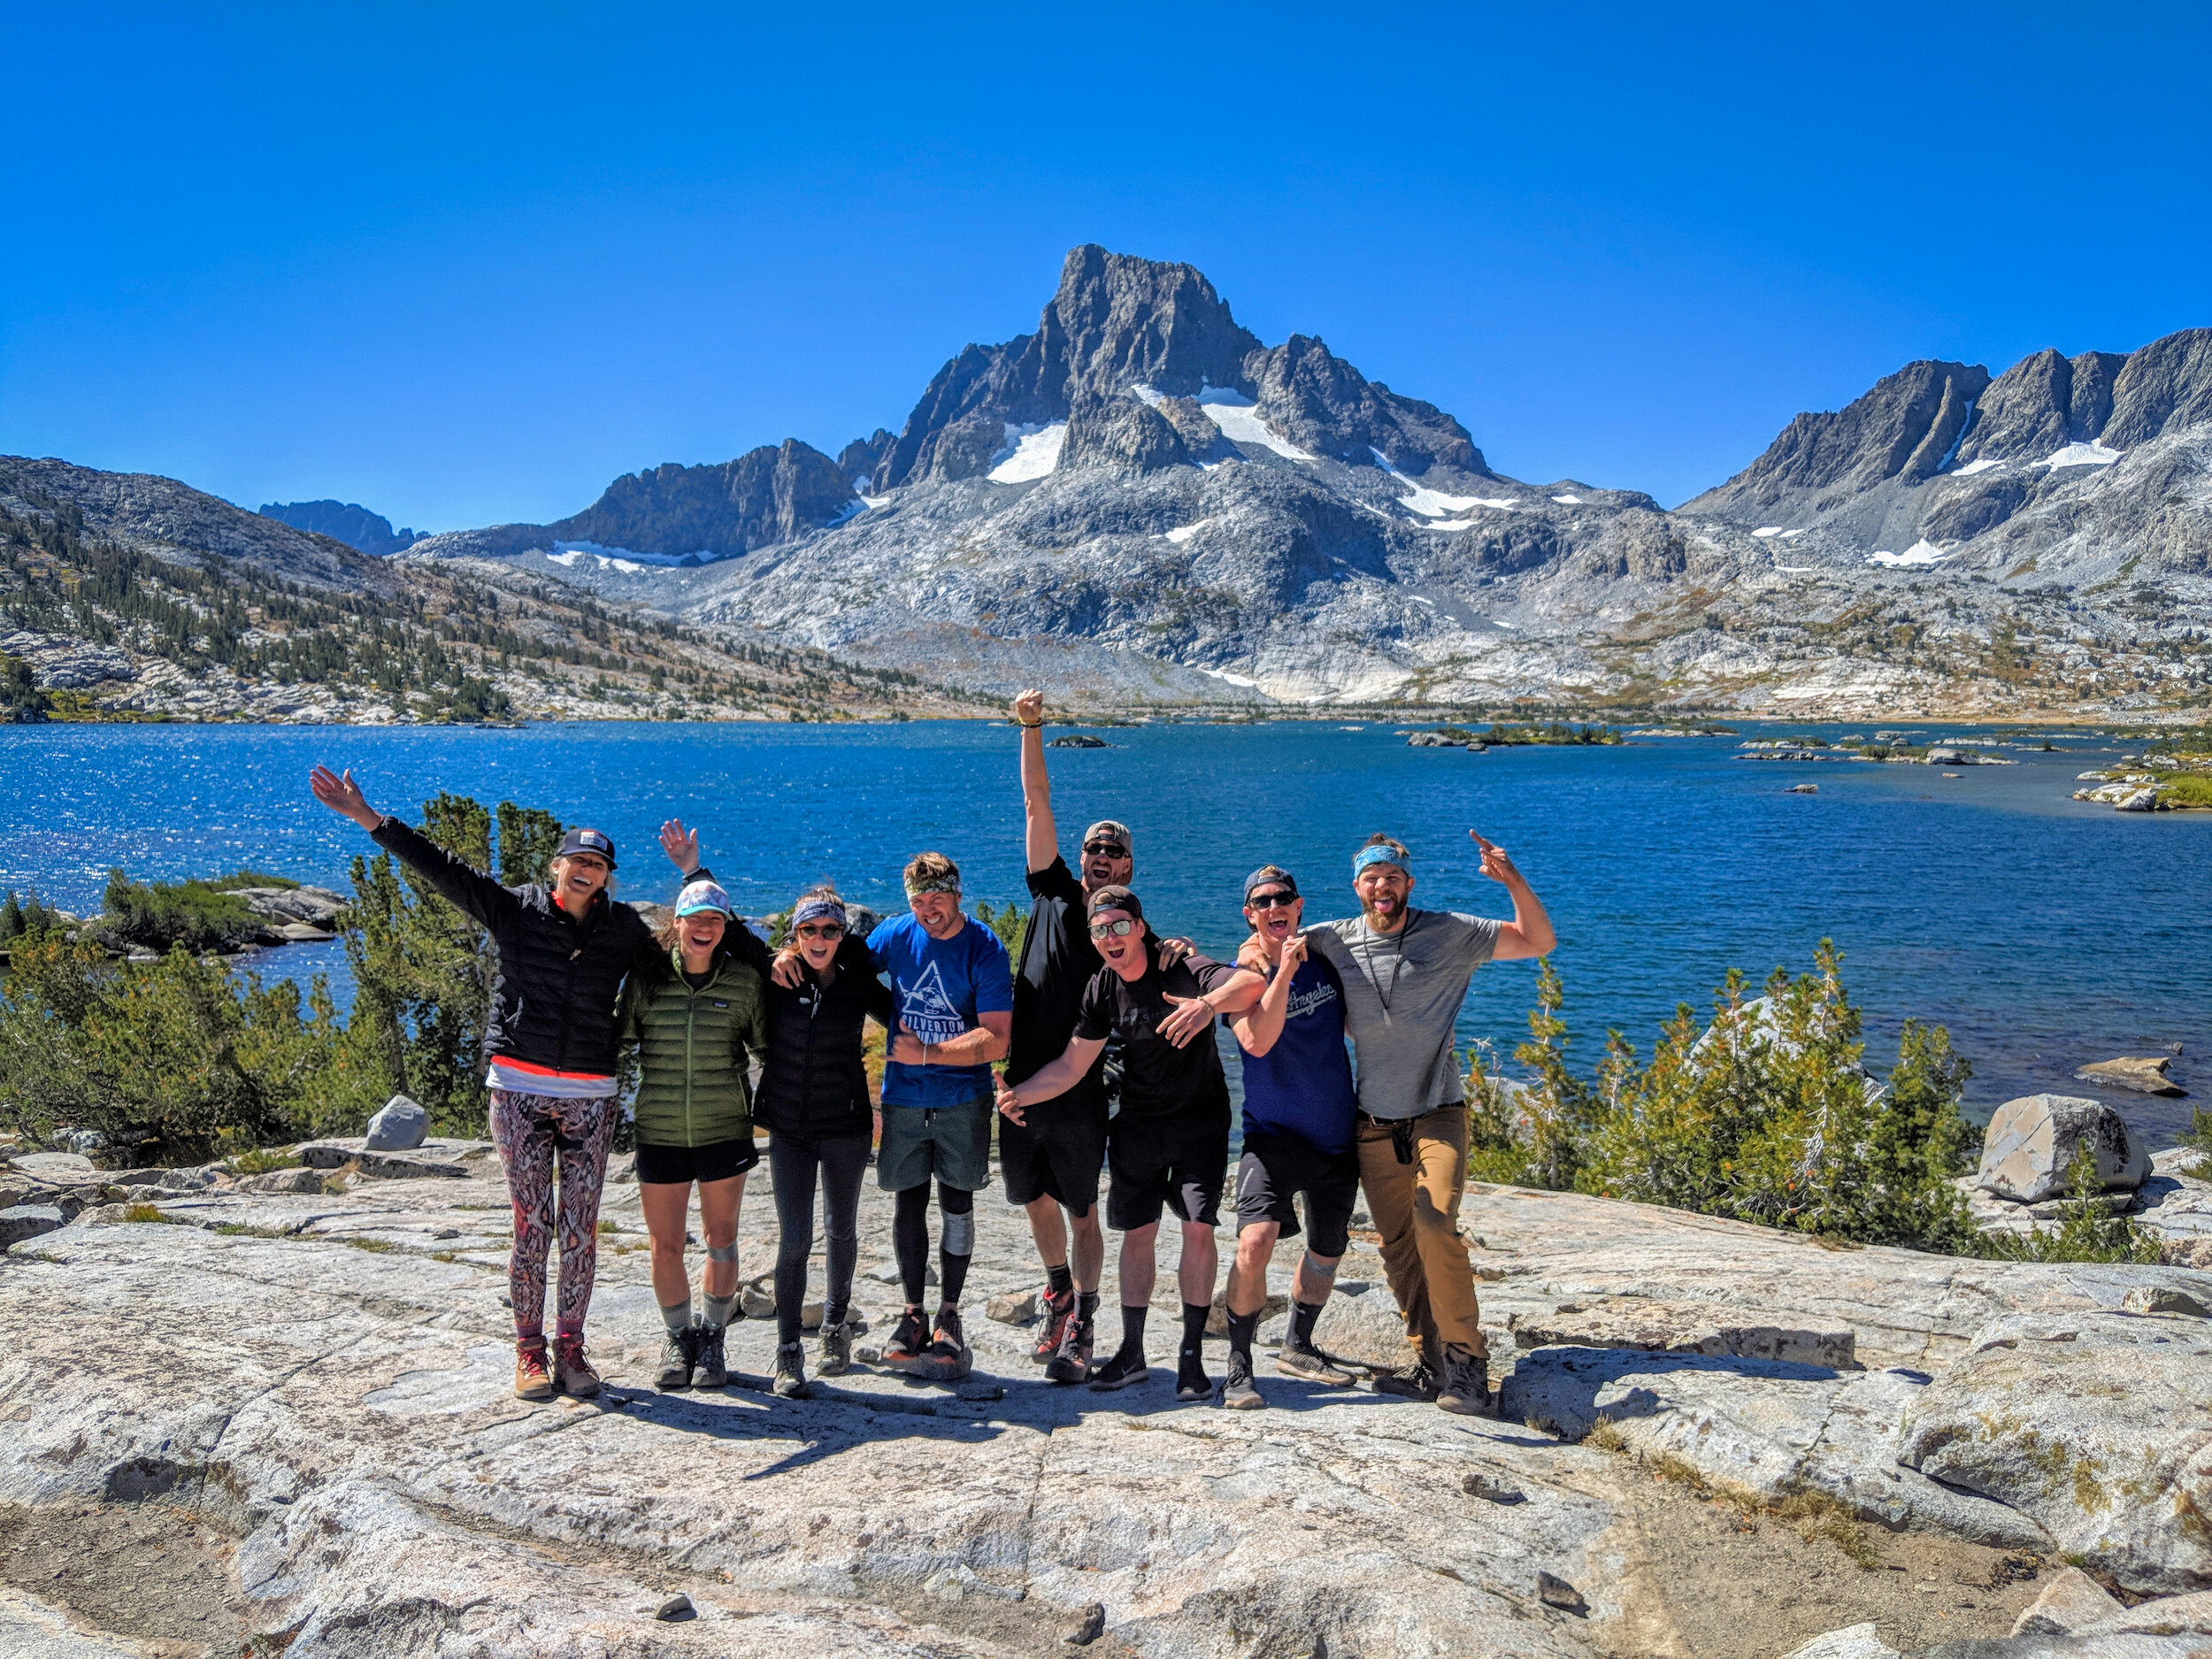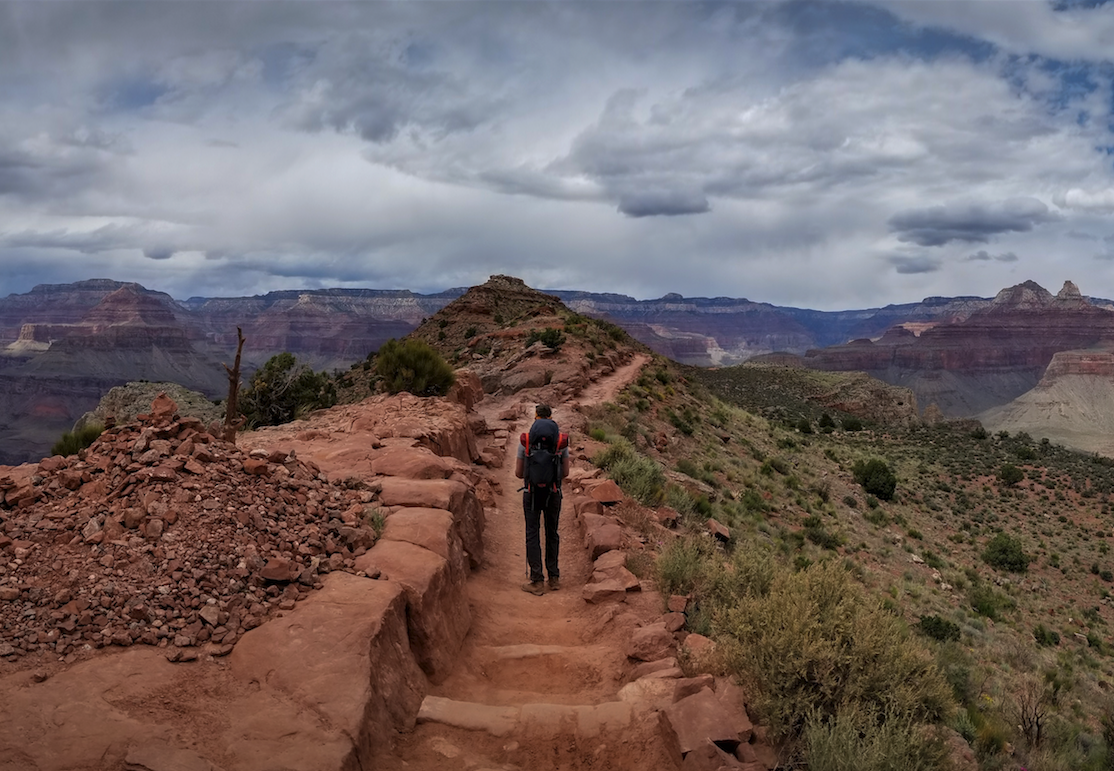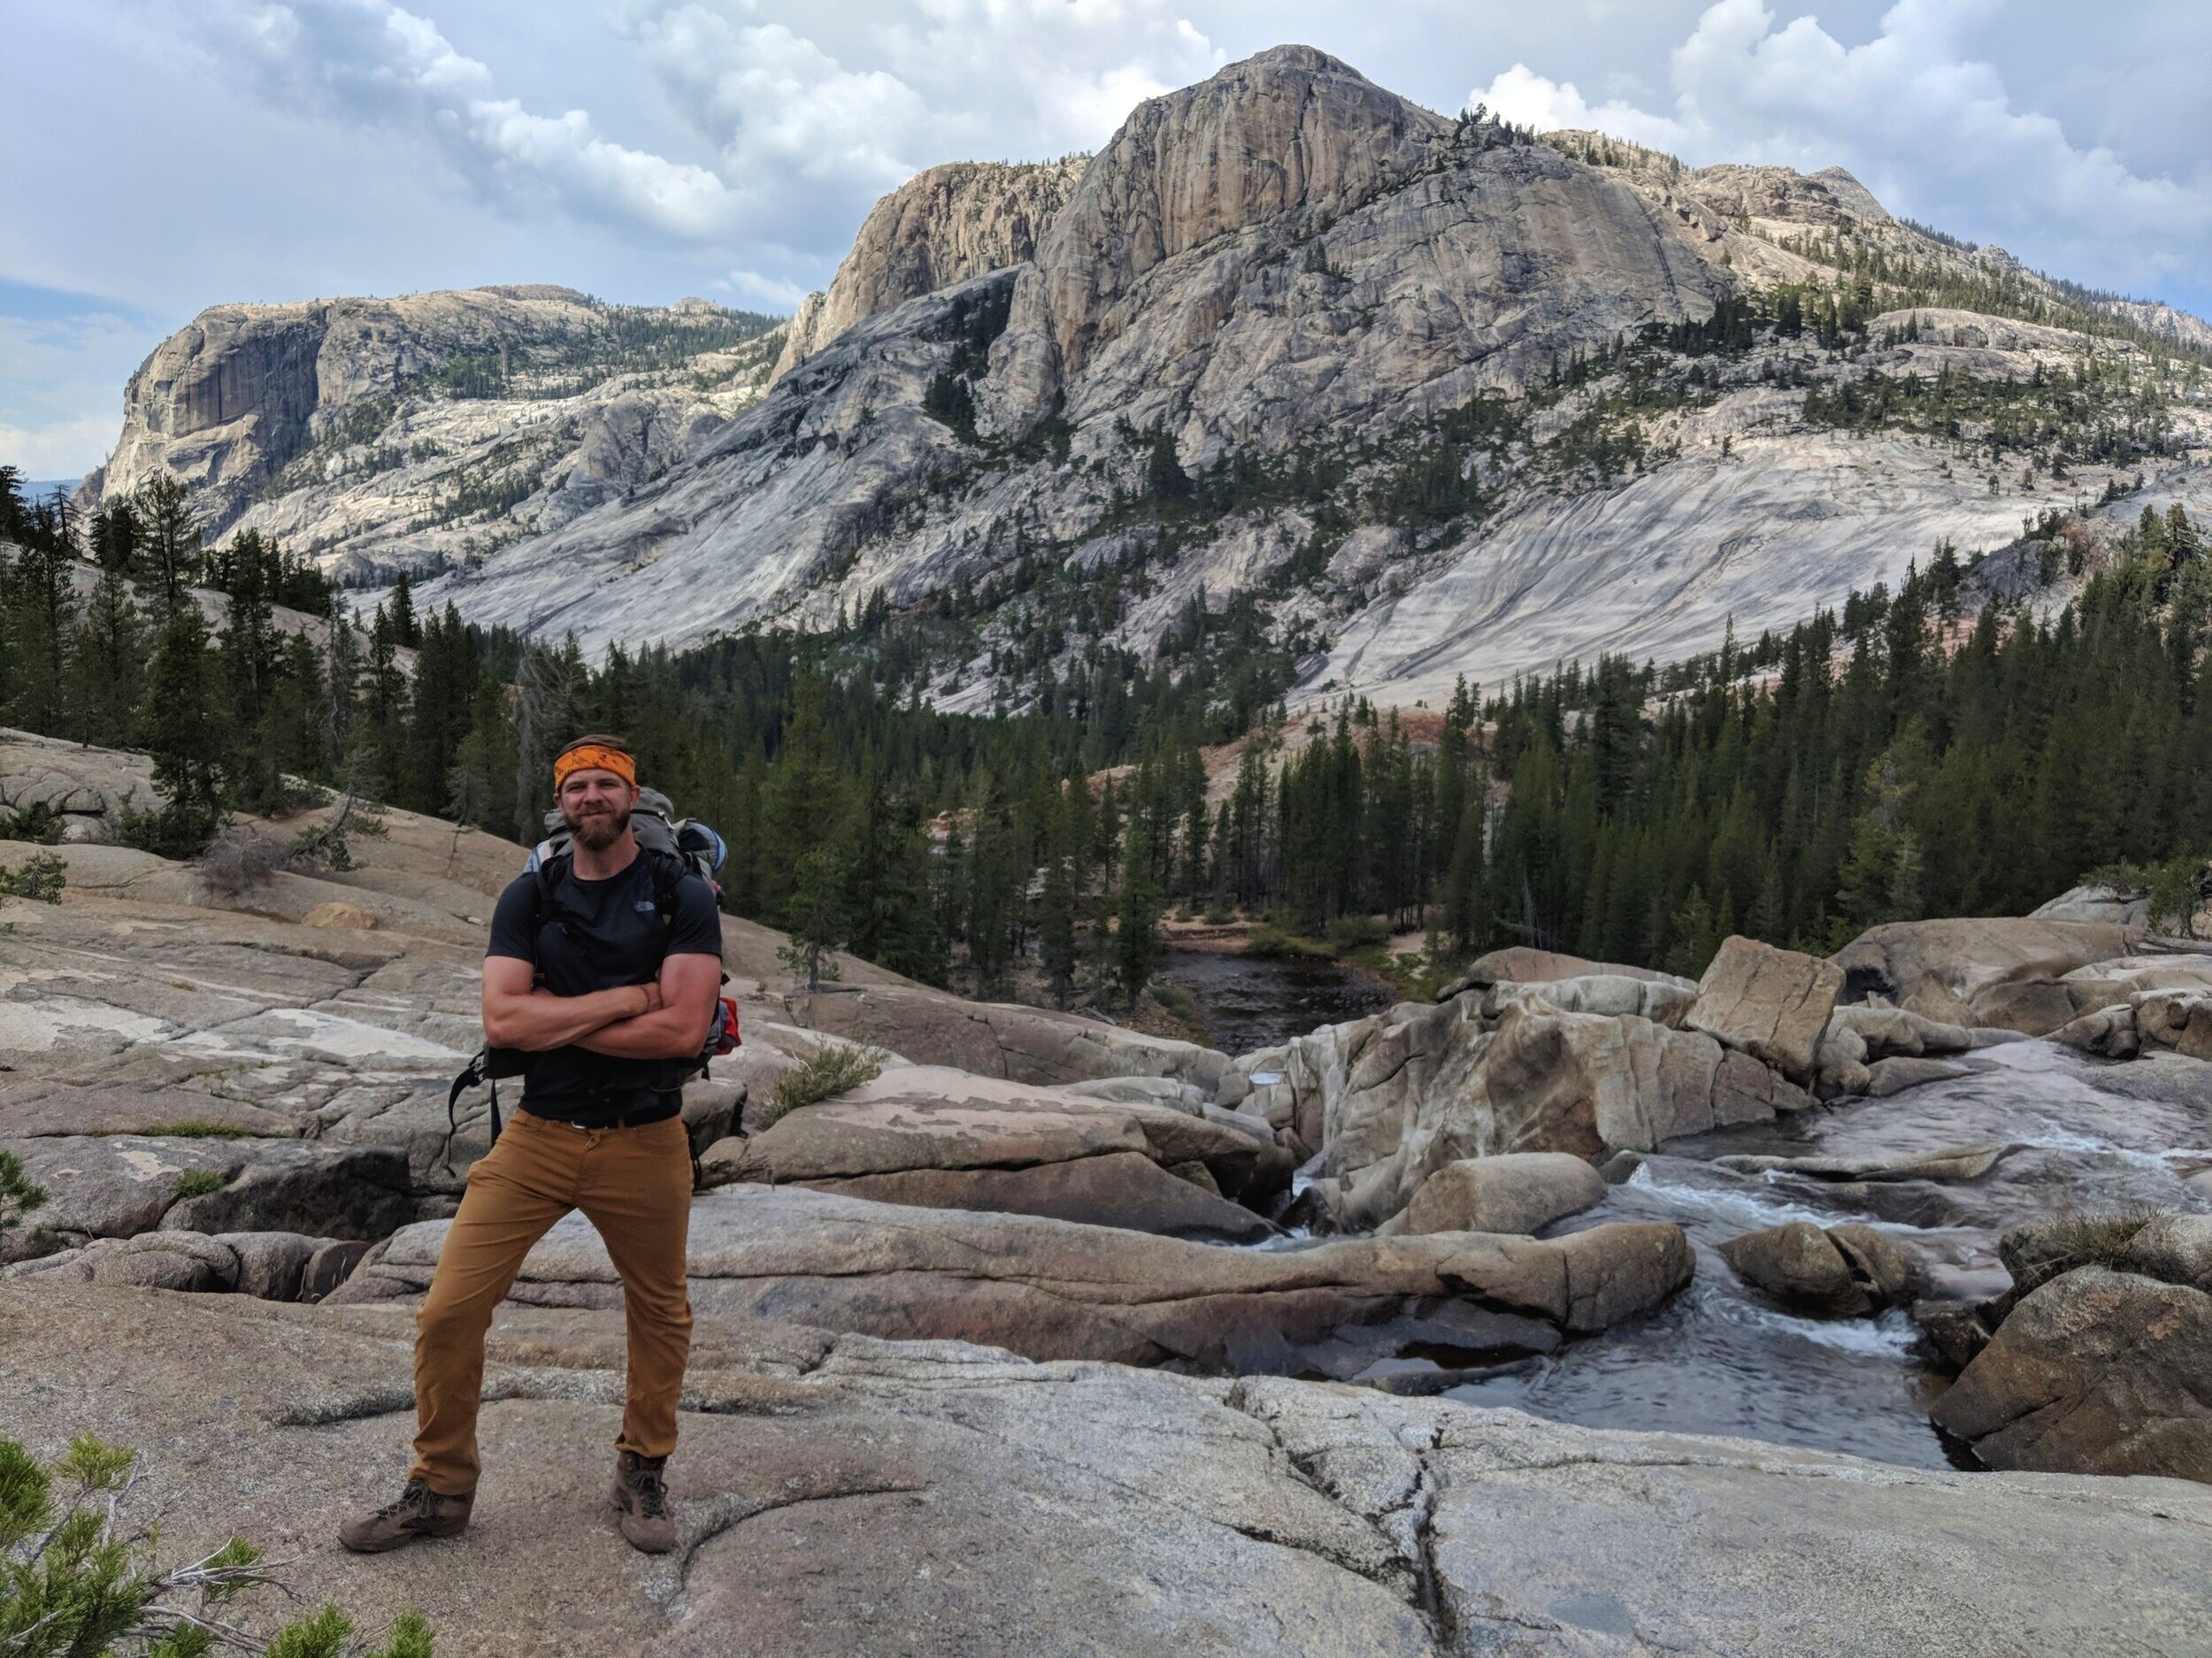


Hiking & Backpacking to Big Pine Lakes
NAVIGATE THIS GUIDE
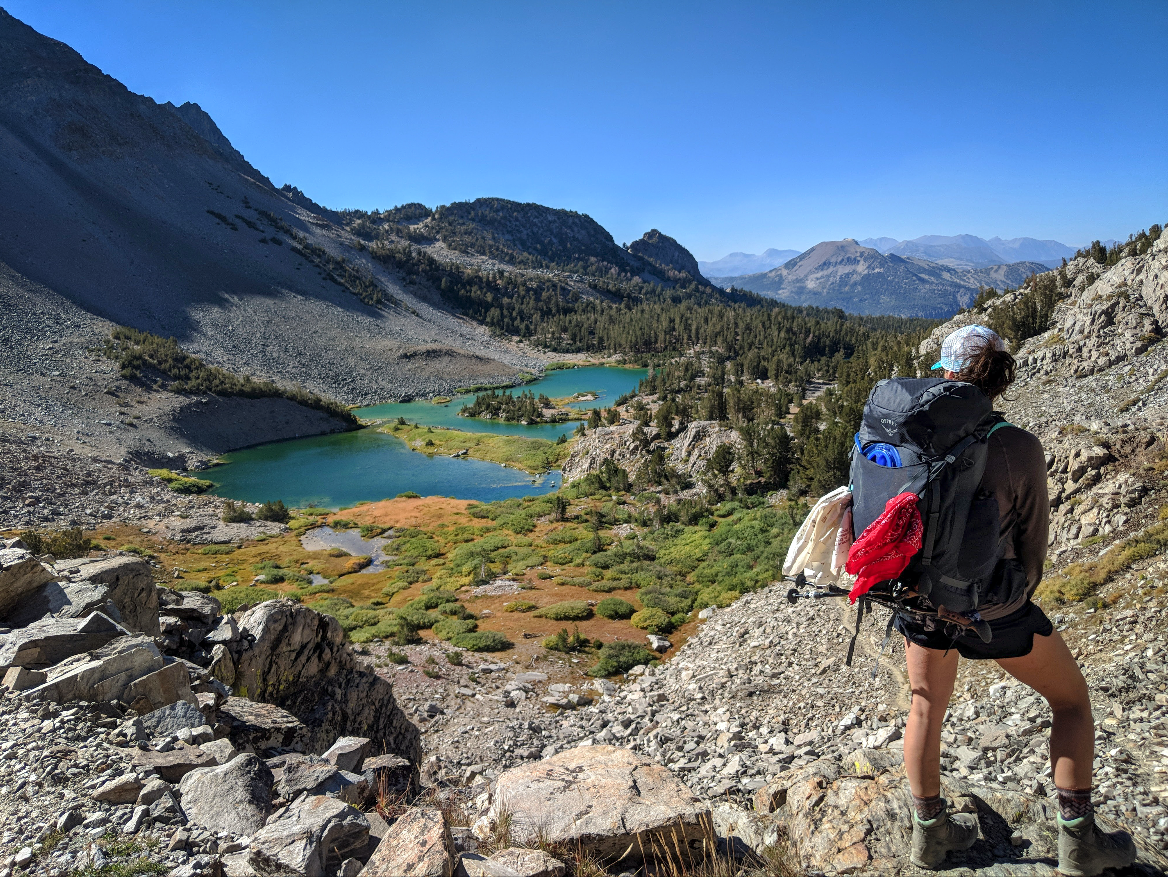
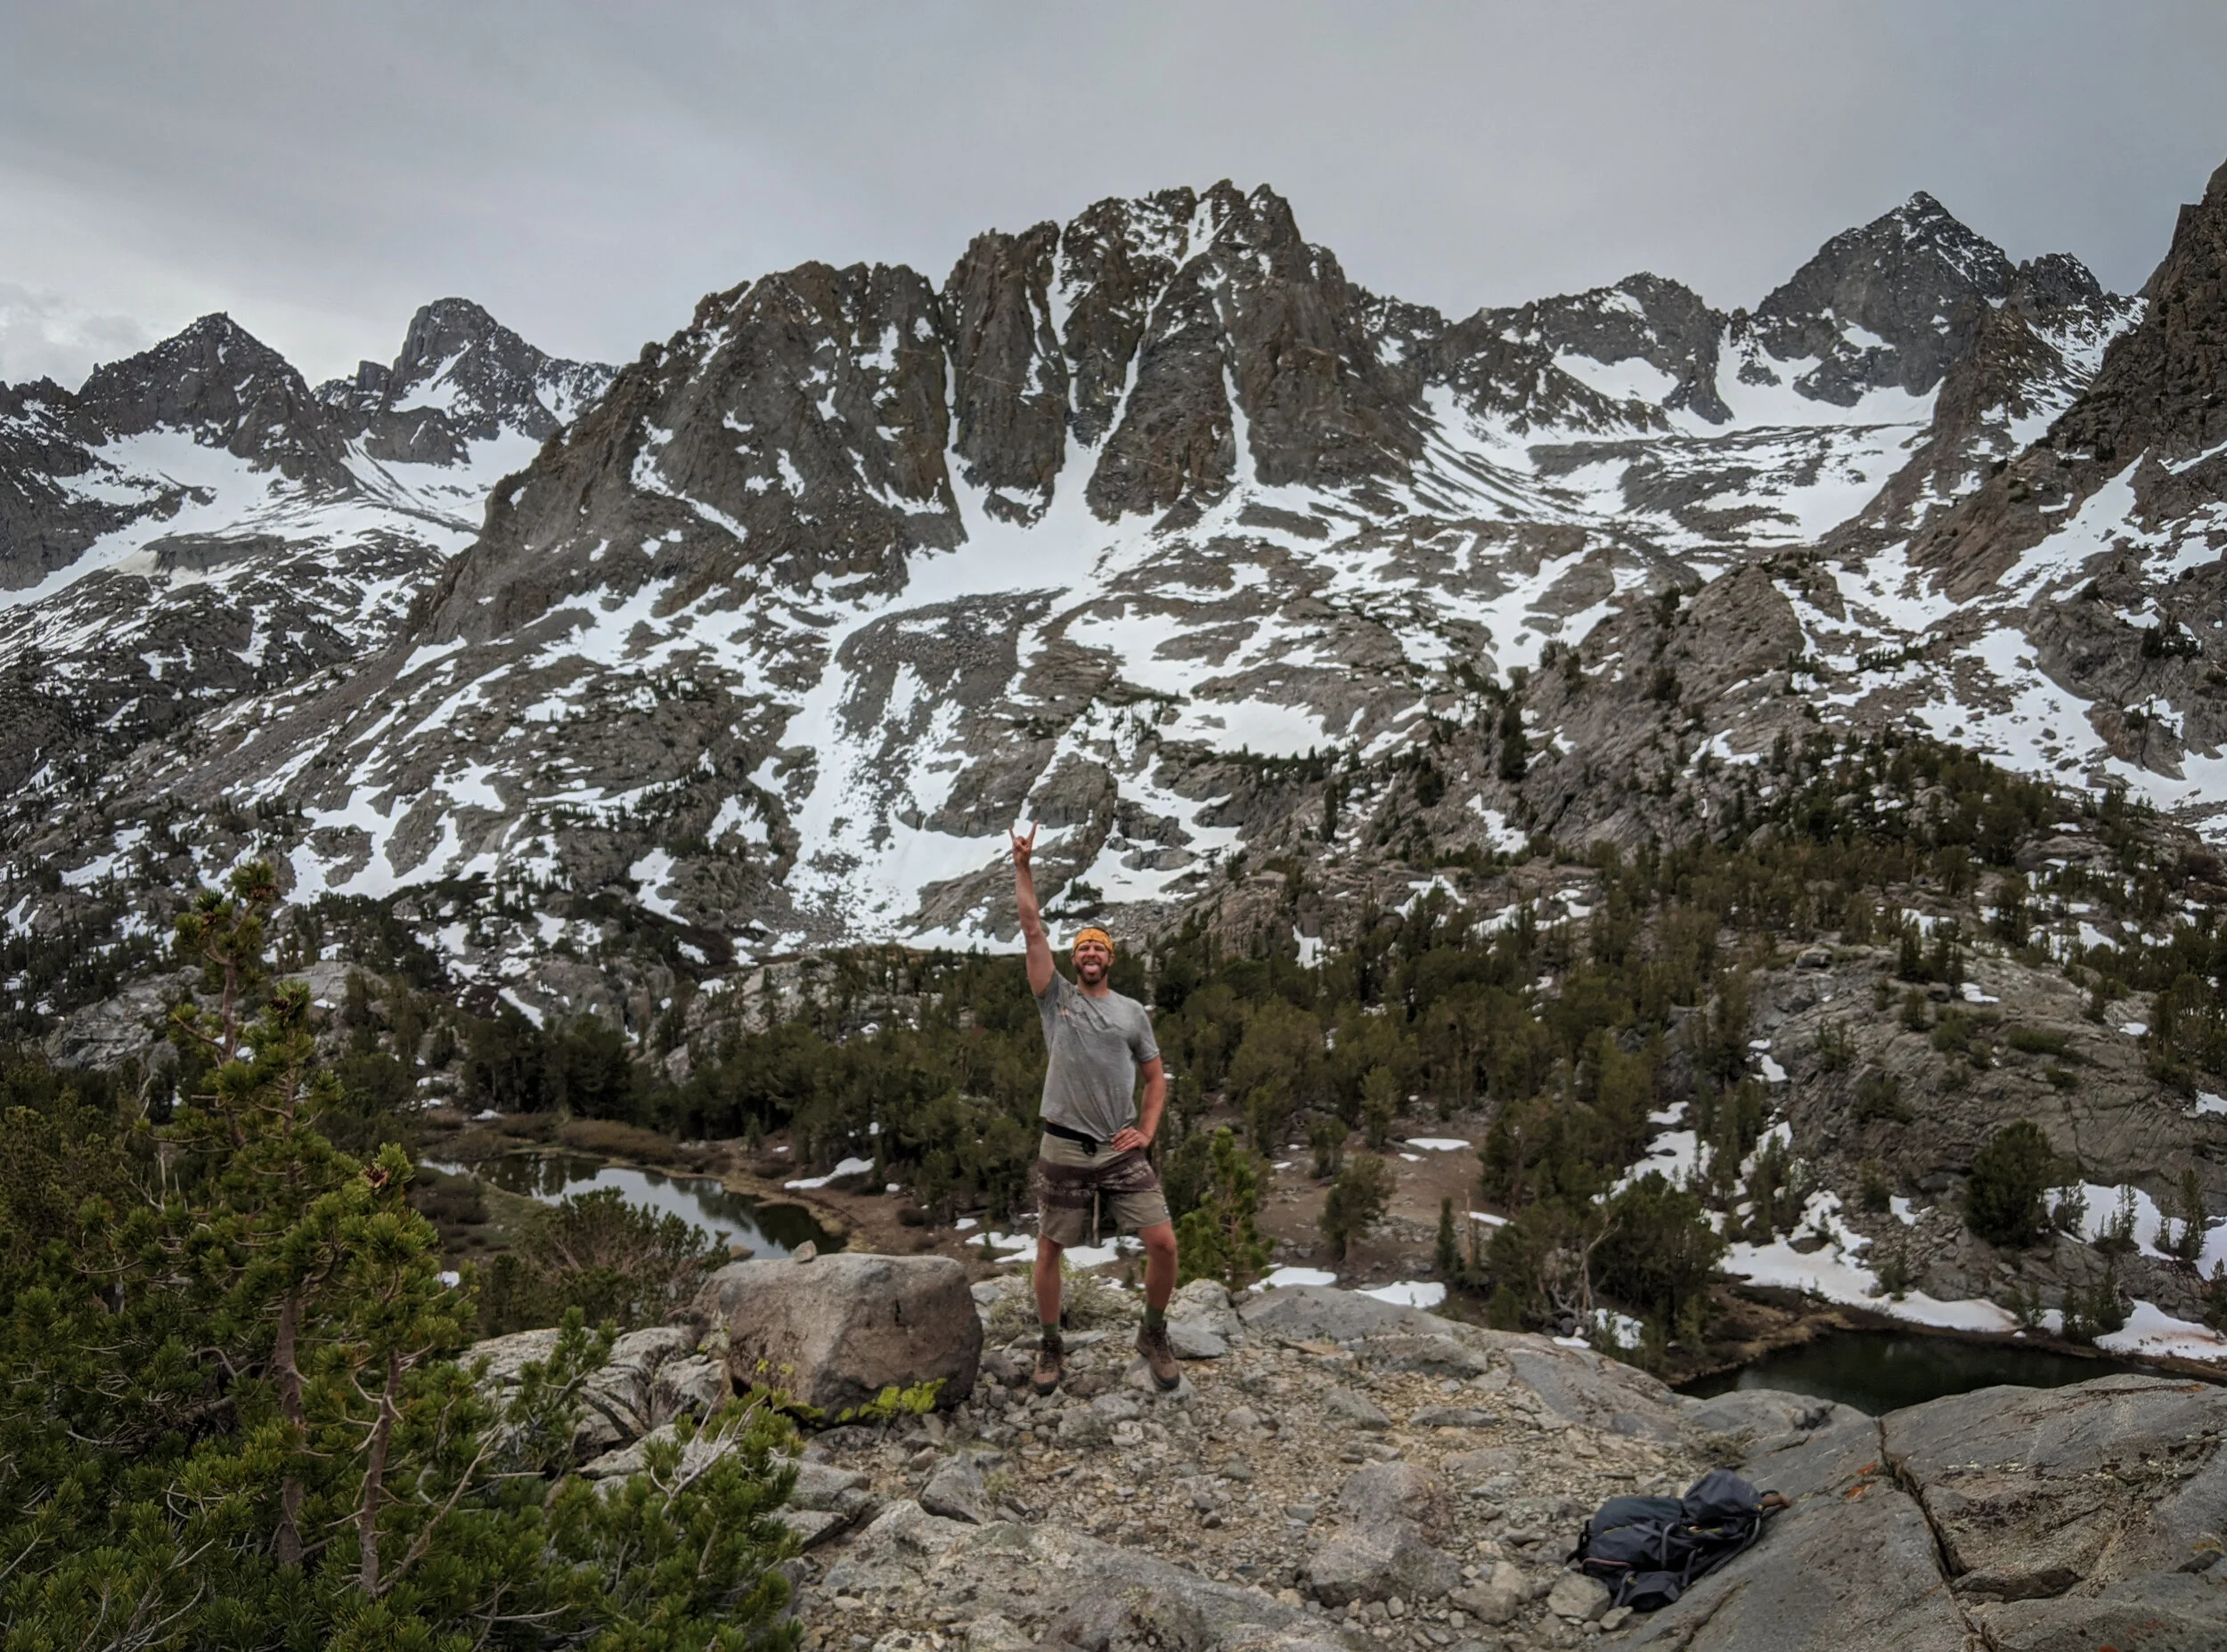
The North Fork of Big Pine Creek Trail
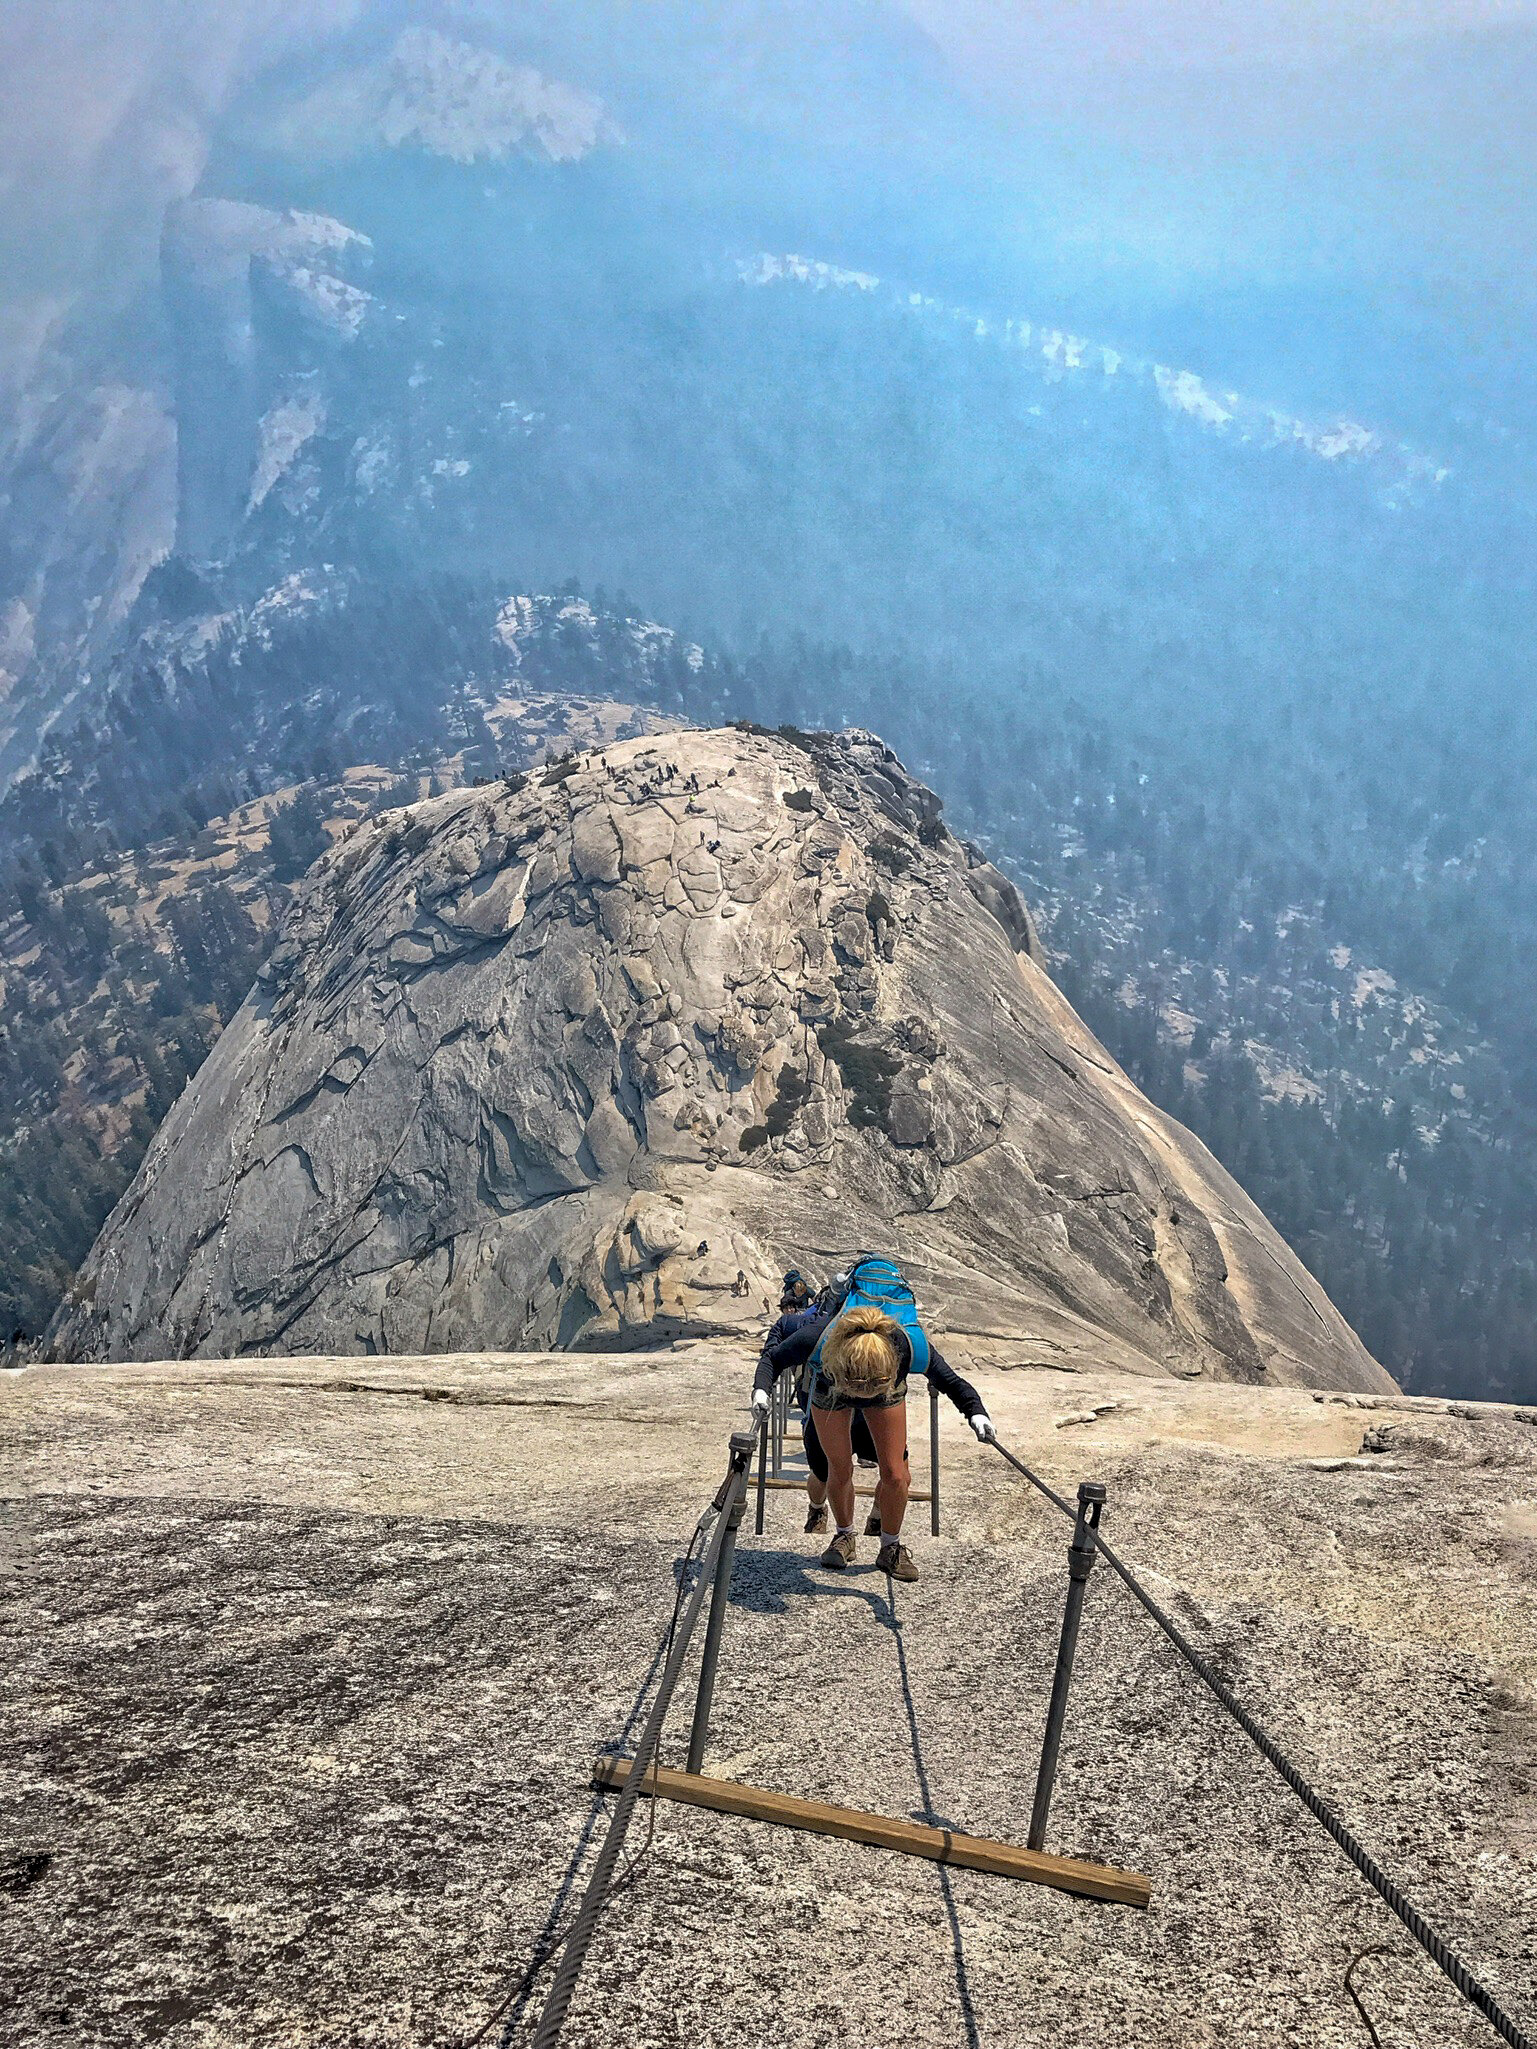
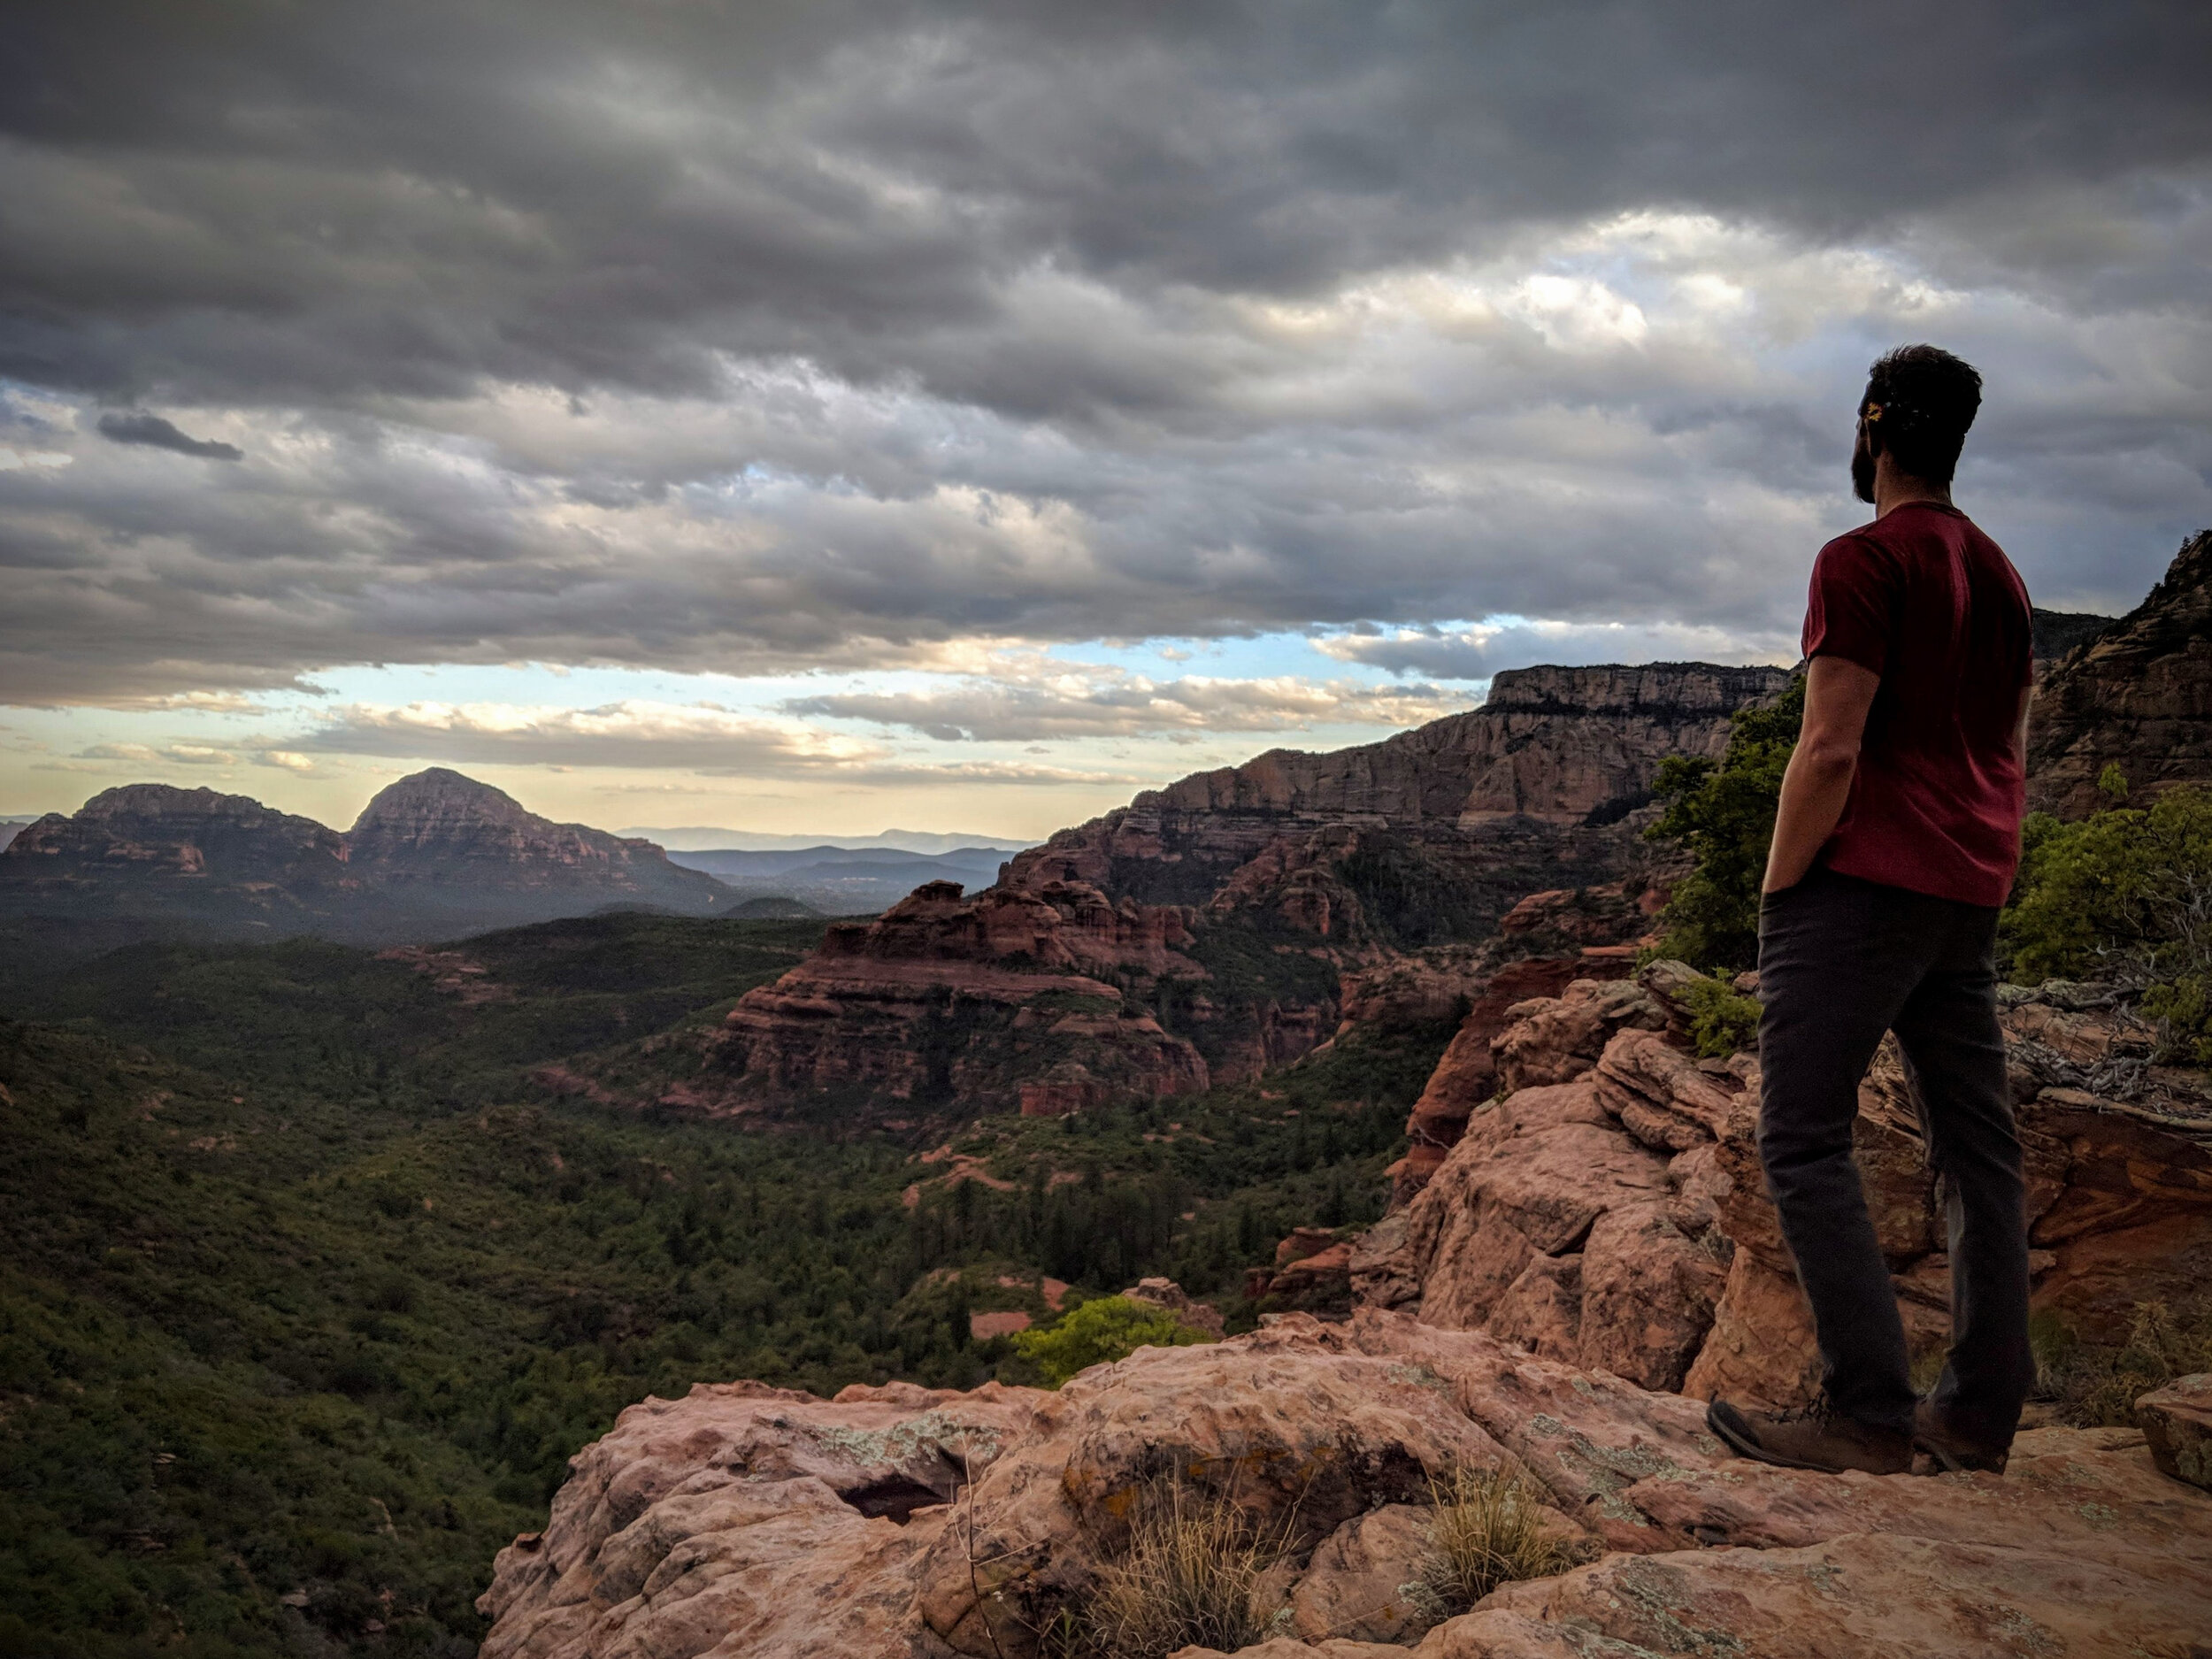
The incredible photos you see of this place still don’t do it justice
The amphitheater of massive granite peaks surrounding you at every step of this journey make it HANDS DOWN one of my favorite hikes along Hwy 395, especially given its accessibility within a single day’s hike.
Make no mistake—photos hardly even graze the full brilliance of this scenery. This hike matches and exceeds all of its hype!
Hint: A truly jaw-dropping view rewards the trekkers who slug it out all the way to lakes 6 & 7 and/or the Palisade Glacier.
When to Plan Your Trip
These times of the year have been near perfect in our experience, but always depend on that year’s snowfall:
Late May to Early June
I planned my trip on the first week of June and timed it perfectly. The snow had melted on the trail, but not yet up in the peaks. Because it was mid-week and still early season by Sierra standards, the trails weren’t crowded. At Lake 5 where I camped, I had the entire lake to myself.
Late September to Early October
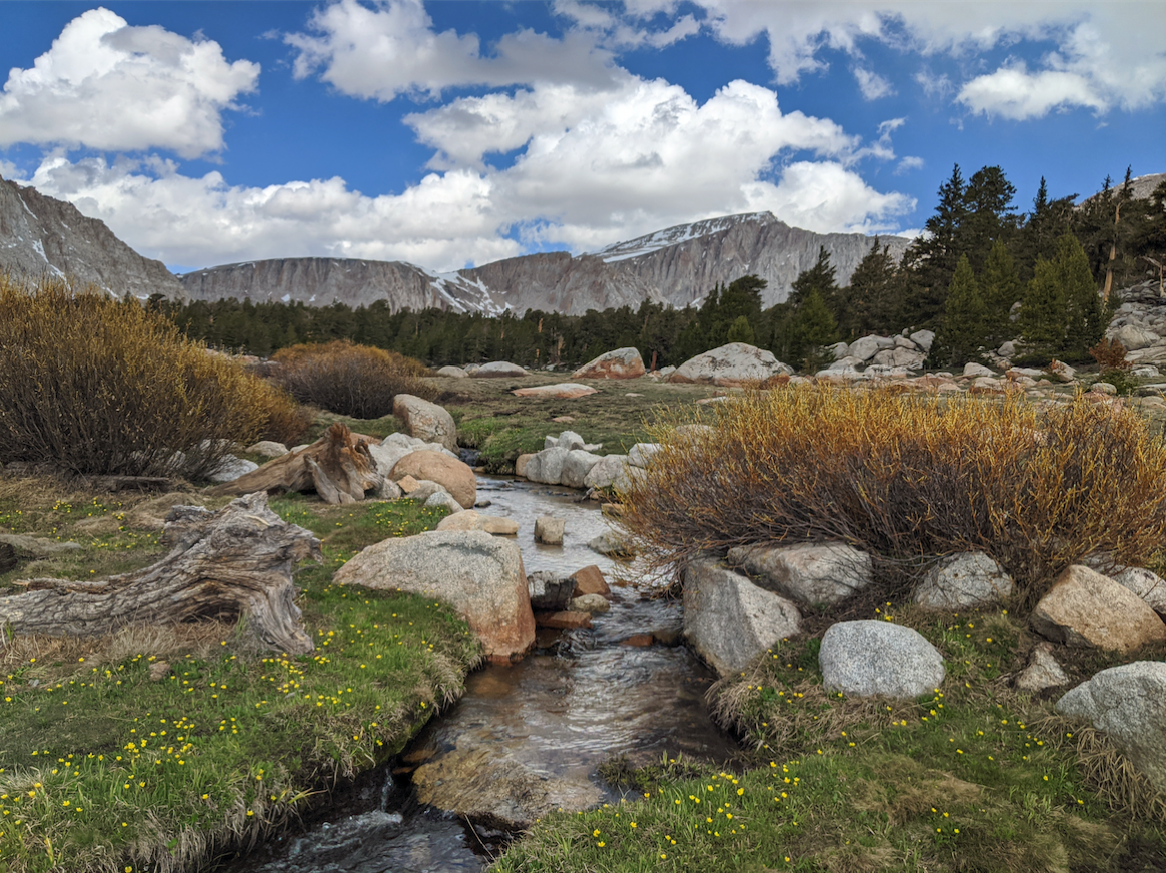
The middle section of the trail up to Lake 1 contains a beautiful stretch of Aspen trees. Best when leaves are changing in the fall.
Mid to Late April
If you have snowshoes, you can catch stunning scenic landscape up here before the permit season begins. You’d have a MUCH smaller crowd around you. Given its straight-forward directions lack of steep slopes, I’d be much less nervous about getting lost if I lost the trail (but always be careful).
Note: Because this is a popular trail, I’d also highly recommend going mid-week if possible.
Trail Stats
Distance
Day Hiking to Lakes 2-3 — 13 mi. round trip
Backpacking up to Lakes 6-7 — 18-20 mi. round trip
The Palisade Glacier — Add an additional 4-5 miles round-trip if you add in the trek up to the glacier
Elevation
The hike is a steady unrelenting slope upwards throughout its entire duration. It almost never flattens out, but it also doesn’t demand any steep, brutal ascents:
Trailhead Elevation: 7,660 ft.
Lakes 6 & 7: 10,787 ft. (3,127 ft. gain)
Palisade Glacier: 12,427 ft. (4,767 ft. gain)
Options for Completing the Hike
Our recommendation
If it’s your first time hiking this route, get up to Lakes 6 & 7 or the Palisade Glacier.
We really can’t stress that enough. You’ll feel satisfied after passing the magnificent Temple Crag at Lake 2, but the hike only continues to get better as you ascend. Although it’s hard to choose, you’ll find the best views of the hike on the high ridge just before descending down to Lakes 6 & 7.
Seeing the Palisade Glacier
The trip up to the glacier is steep, rugged and involves some off-trail hiking. If you’re hiking early on in the season (i.e. before mid-July), you may need to bring crampons or snowshoes to reach it safely.

Permits and Reservations
STEP 1 — Find an available permit on Recreation.gov (or as a walk-up)
This hike allows permits for 25 overnight hikers per day, 15 of which may be reserved ahead of time. The remaining 10 are set aside as walk-up permits, available after 11 AM the day before your departure. Permits can be reserved at Recreation.gov (look up JM23: Big Pine Creek North Fork) up to six months in advance. Day hiking does not require a permit.
STEP 2 — Select your campsite
The only required information is the lake you’ll be staying at. Here are my recommendations:
Lake 1 - Wouldn’t reserve an overnight spot here unless it’s the last option left. While very beautiful, it’s also the lowest lake on a fairly linear hike, and will leave you with a long hike the following day if you’re planning on reaching the upper lakes.
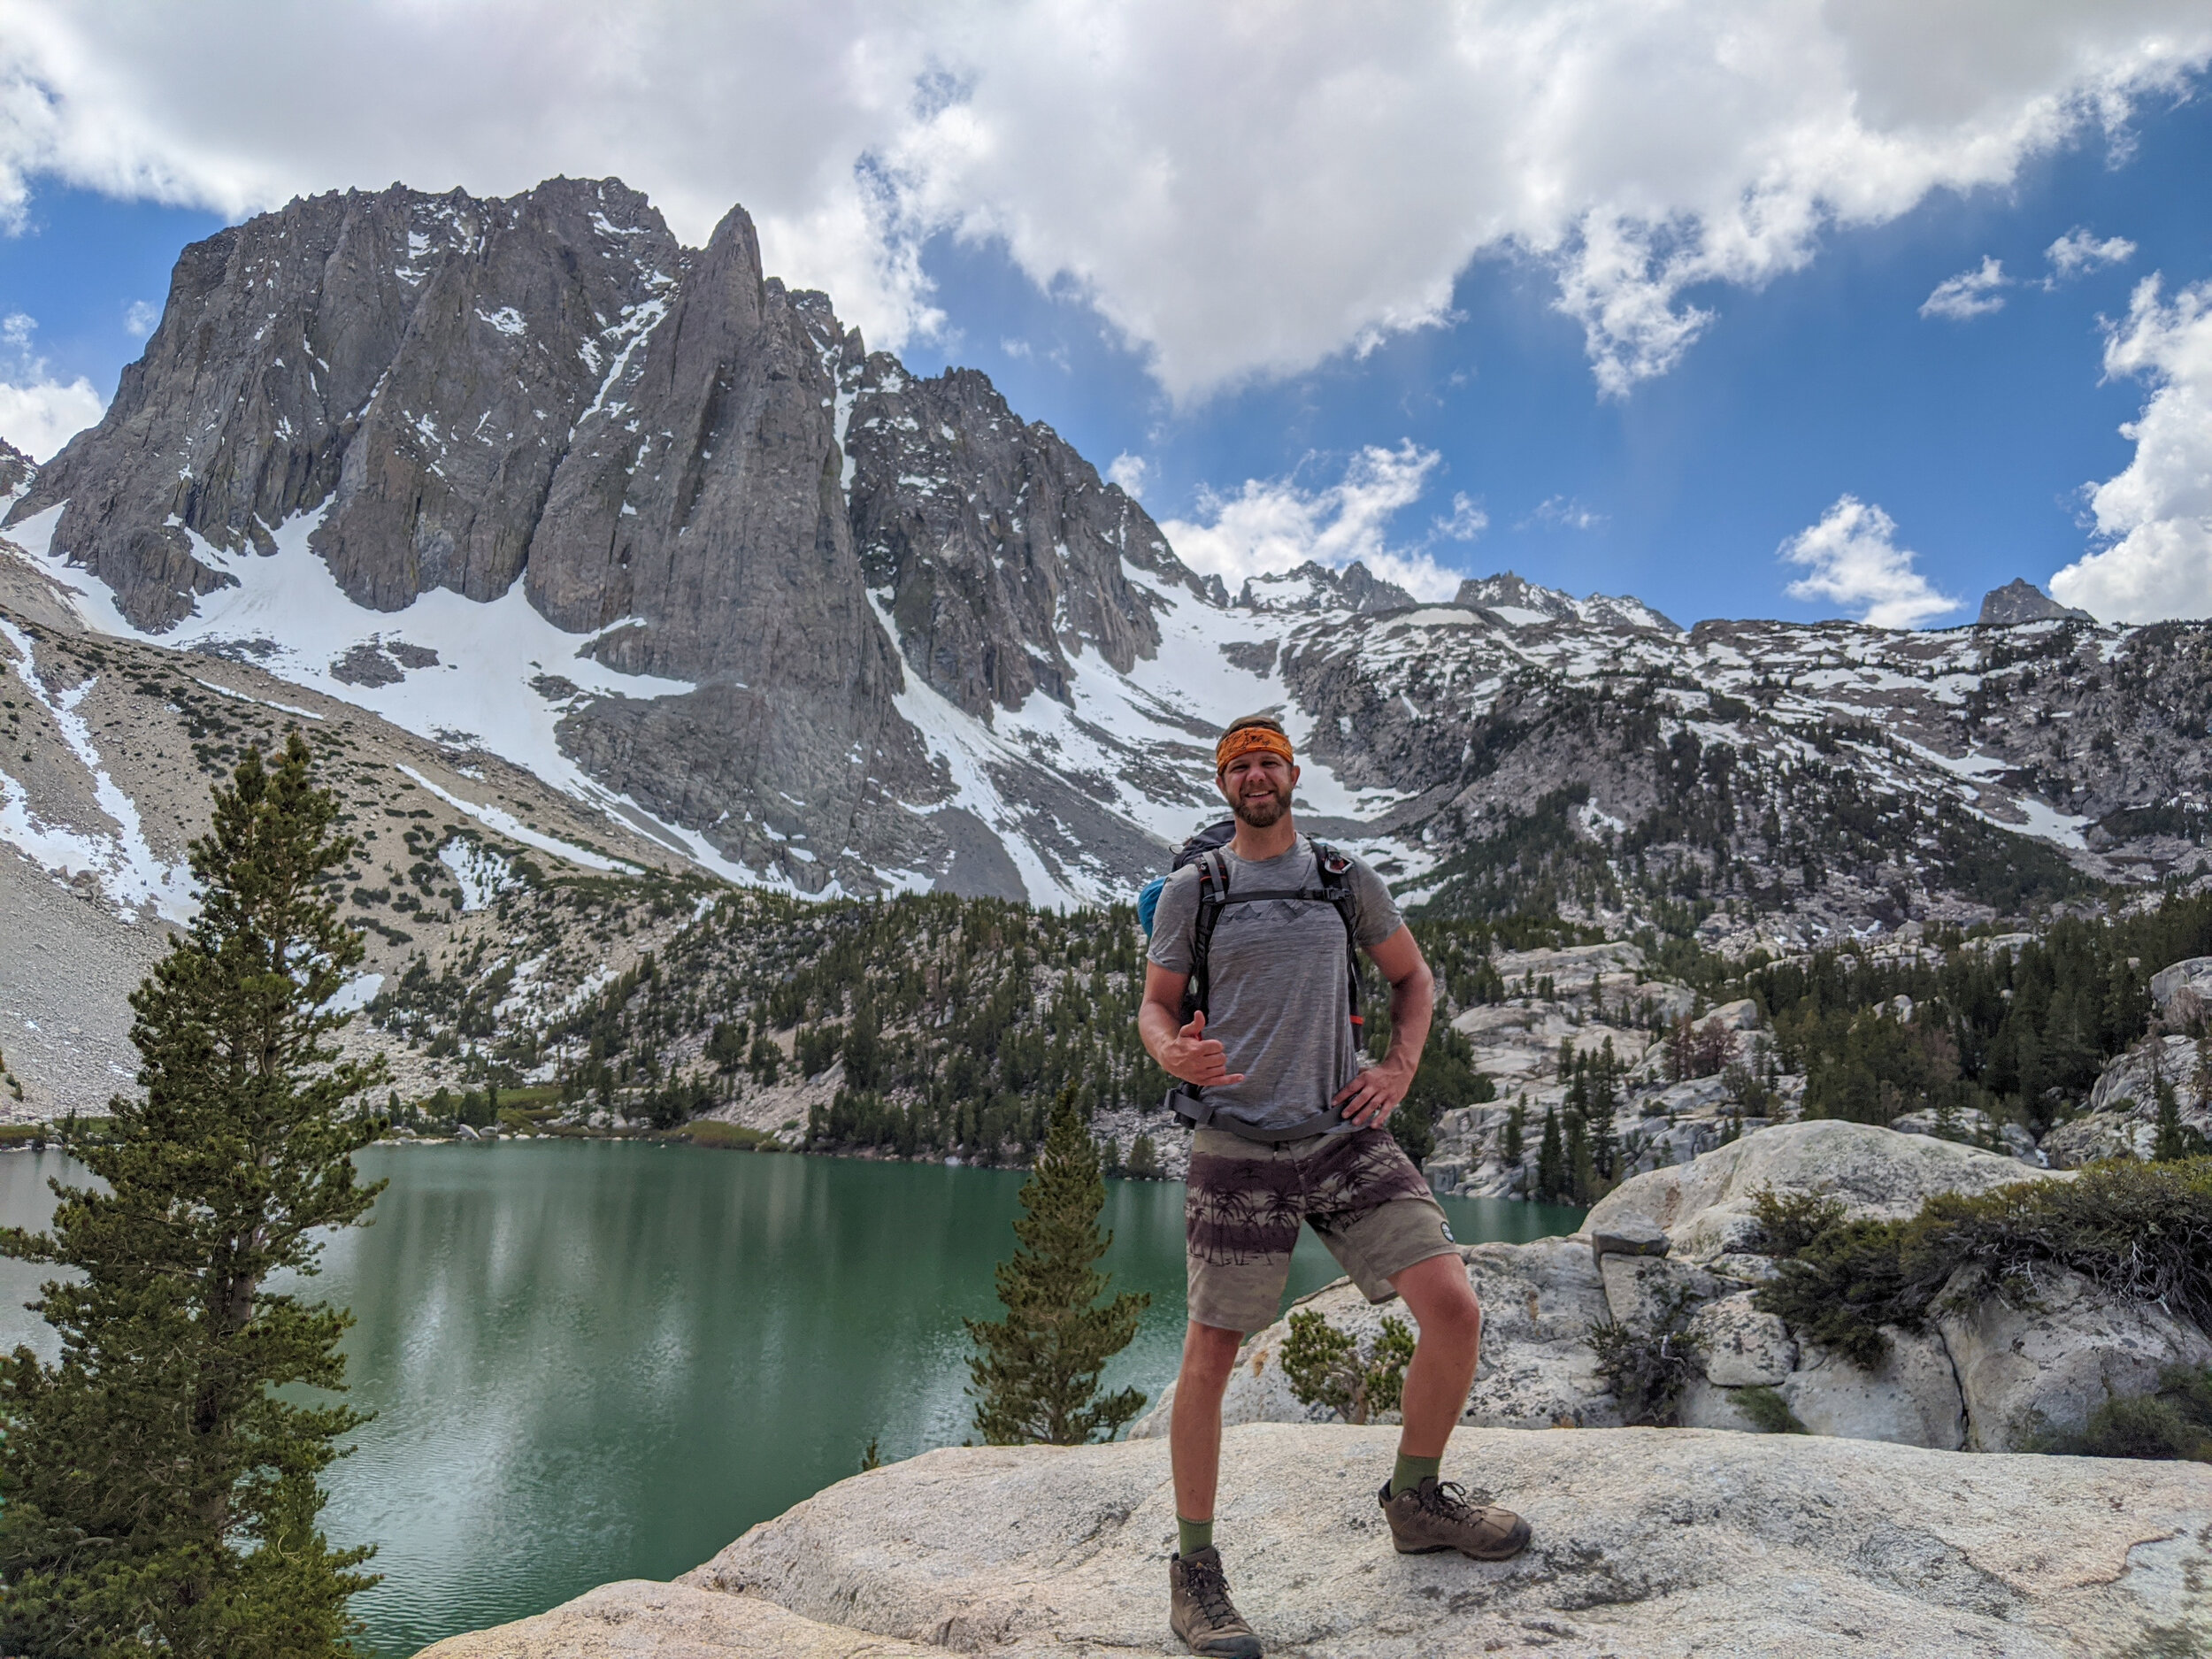
Lakes 2 & 3 - Both great options, purely due to their sheer beauty. These lakes have a front-row view of the hike’s most prominent feature—Temple Crag. I saw several cliff-side spots on Lake 2 that were absolutely jaw-dropping. On the downside, don’t expect much isolation here, as you’ll certainly be surrounded by other hikers and backpackers. As in Lake 1, these routes will leave you with a longer 2nd day hike if you plan on visiting any of the upper features.
Lake 4 - Bleh. Small, swampy lake surrounded by heavy trees and no view. Don’t pick this one.
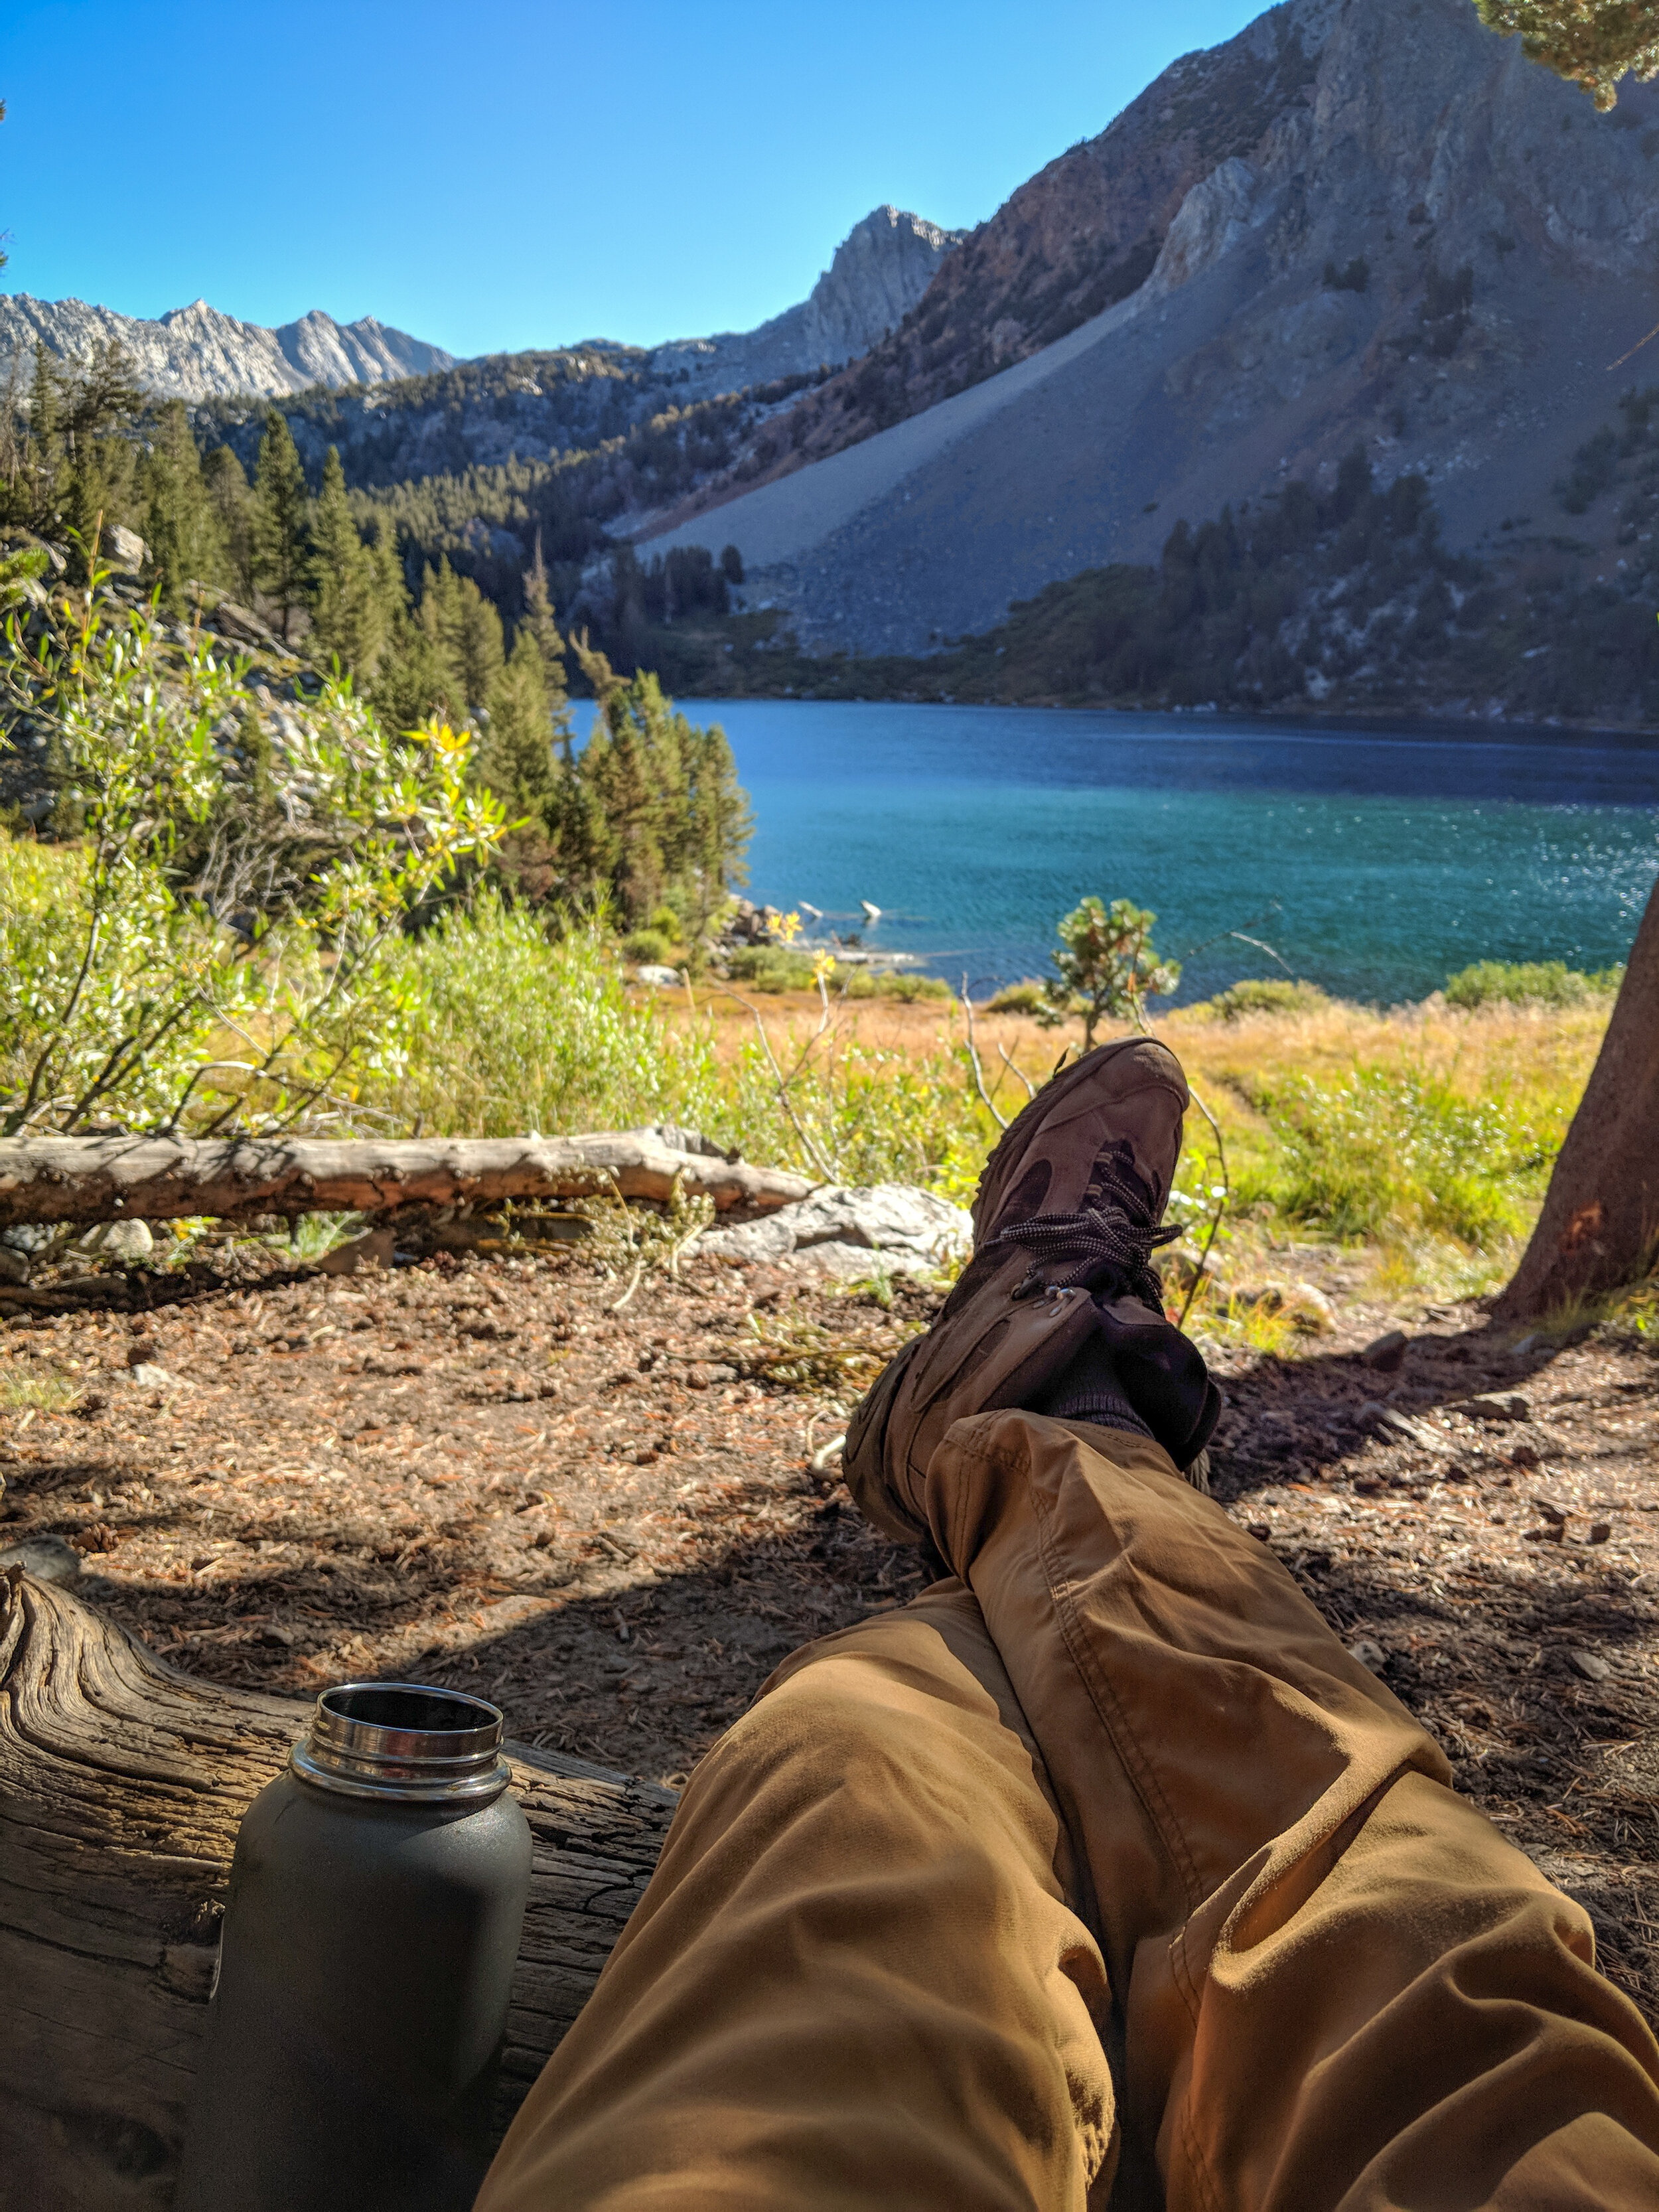
Lake 5 - I stayed at Lake 5 and loved it. Incredible views of Mt. Robinson, Agassiz and Cloud Ripper. It’s further up the trail than what most day hikers are willing to explore. I hiked counter-clockwise to the far side of the lake, which involved some off-trail hiking but was rewarded with a truly stunning view and complete isolation. It also set me up close to my Lake 7 finish line the next morning before the trek back.
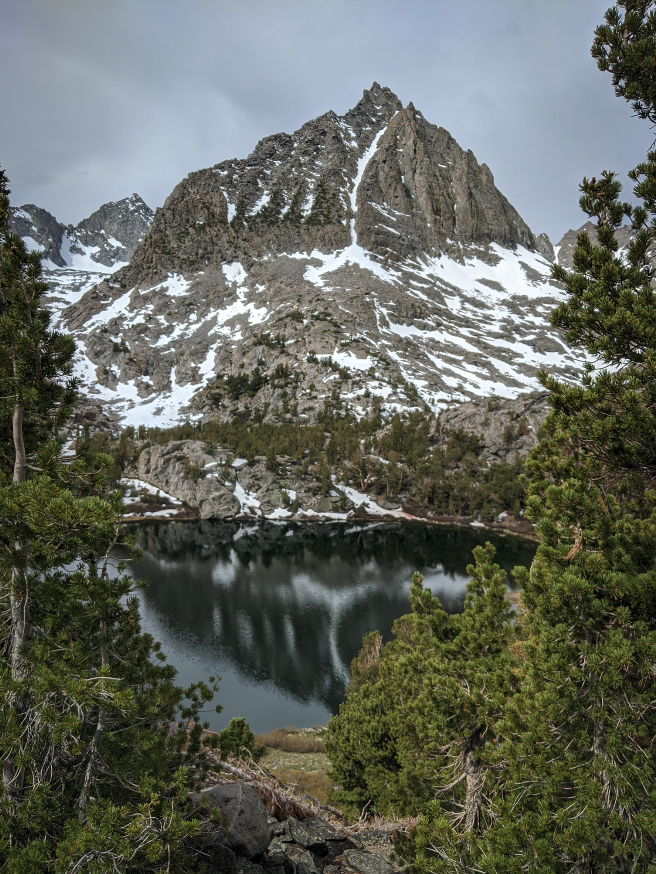
Lakes 6 & 7 - You’ll find the best views of the entire hike on the high ridge just before descending down to Lake 6. It’s the highest point of the hike therefore likely the coldest, but the shores of both lakes are tucked below the ridge and less exposed. Being further up the hill, it’s possibly even more isolated than Lake 5. I’d highly recommend staying here unless the full 10 mi./3,000 ft. hike is too much with a pack on. Those willing to stick it out will be highly rewarded.
STEP 3 — Select the ranger station from which you’ll be picking up your permit
Arrange to pick your permit at one of the location below no later than 10 AM the day of your departure. Pay close attention, because the nearby town of Big Pine does not have a ranger station.
You have four options:
Coming from the South (LA or SD):
Eastern Sierra InterAgency Visitor Center, Hwy. 395, 2 miles south of Lone Pine, CA
Coming from the North (Reno or NorCal):
Mammoth Lakes Visitor Center, 2500 Main St., Mammoth Lakes, CA
White Mountain Ranger Station, 798 N. Main St., Bishop, CA
Mono Basin Scenic Area Visitor Center, Hwy. 395, North of Lee Vining, CA
Permit reservation resources
Recreation.gov - North Fork of Big Pine Creek Wilderness Permit Reservation (Start Here)
Note: you’ll have to click through and look up North Fork of Big Pine Creek permits manually from this page
US Forest Service - Big Pine Creek North Fork Trail, Wilderness Permits & General Info
US Forest Service - Inyo National Forest Wilderness Permits (main page)
Inyo National Forest Wilderness Permit Phone Number: (760) 873-2483
What to Pack
Beyond the essentials
In addition to your 10 essentials and regular backpacking & first-aid gear, we’d recommend the following special items for this hike:
A bear canister is required by the forest service
A filter water and/or purification tablets
A rain jacket - thunderstorms are known to roll in during summer afternoons in the Sierras. I was caught in one on my own trip. Just something to be mindful of.
DSLR camera - Given the views, this one is worth hauling up that heavy DSLR camera. Bring a wide-angle lens.
Day of the Hike
After picking up your permit
After picking up your permits at the ranger station, continue on to the town of Big Pine. The trailhead is located 11 miles west of Big Pine by the Glacier Lodge.
Shuttle Required - None
Turn-by-turn instructions
Trailtopeak.com - Hiking To Big Pine Lakes via The North Fork Trail
AmericanSouthwest.net - Big Pine Lakes
ModernHiker - Big Pine Lakes and Palisade Glacier via Sam Mack Meadow
CaliforniaThroughMyLens - North Fork of Big Pine: Backpacking to the Glacial Lakes
Additional Resources
Inyo National Forest
US Forest Service - North Fork of Big Pine Creek Trail Map & Surrounding Area
White Mountain Ranger Station: (760) 873-2500
Check out these other great eastern sierras adventures

COTTONWOOD LAKES
Hiking & Backpacking to Cottonwood Lakes & Mt. Langley Summit

IVA BELL HOT SPRINGS
Backpacking Duck Pass to Iva Bell Hot Springs
Want More Adventure??
Check out our other popular posts!